How To Build A Large Walk-Through Trellis
If you’re looking to add a trellis to your garden without spending a ton of money, you’ll love our version of this garden feature. In this post, I will show you exactly how we came up with this design, the steps we took to build it, and how it worked for us, along with a few changes we’ll be making in the future.
What I love about this tunnel trellis is that it’s semi-permanent, strong, simple to construct and only takes a couple of days to build. You only need a couple of tools to get it done smoothly, and it doesn’t require a ton of materials to build.
Jump to Instructions/Gather The Supplies
Here are the only materials we used for both the frame and garden bed:
- 4 posts of 4x4x8 pressure-treated lumber
- 2 bags of sixty pound high strength concrete mix
- 4 five gallon buckets
- 4 concrete retaining wall blocks
- 8 pressure-treated fence pickets
- 8 two inch exterior wood screws
- 24 exterior eye-screws
- 1 roll of nylon mason line twine
We spent a total of $115 to build this trellis. It is 6.5 feet tall and 6 feet wide. There are many different options for creating a trellis, but I chose twine for price and flexibility.
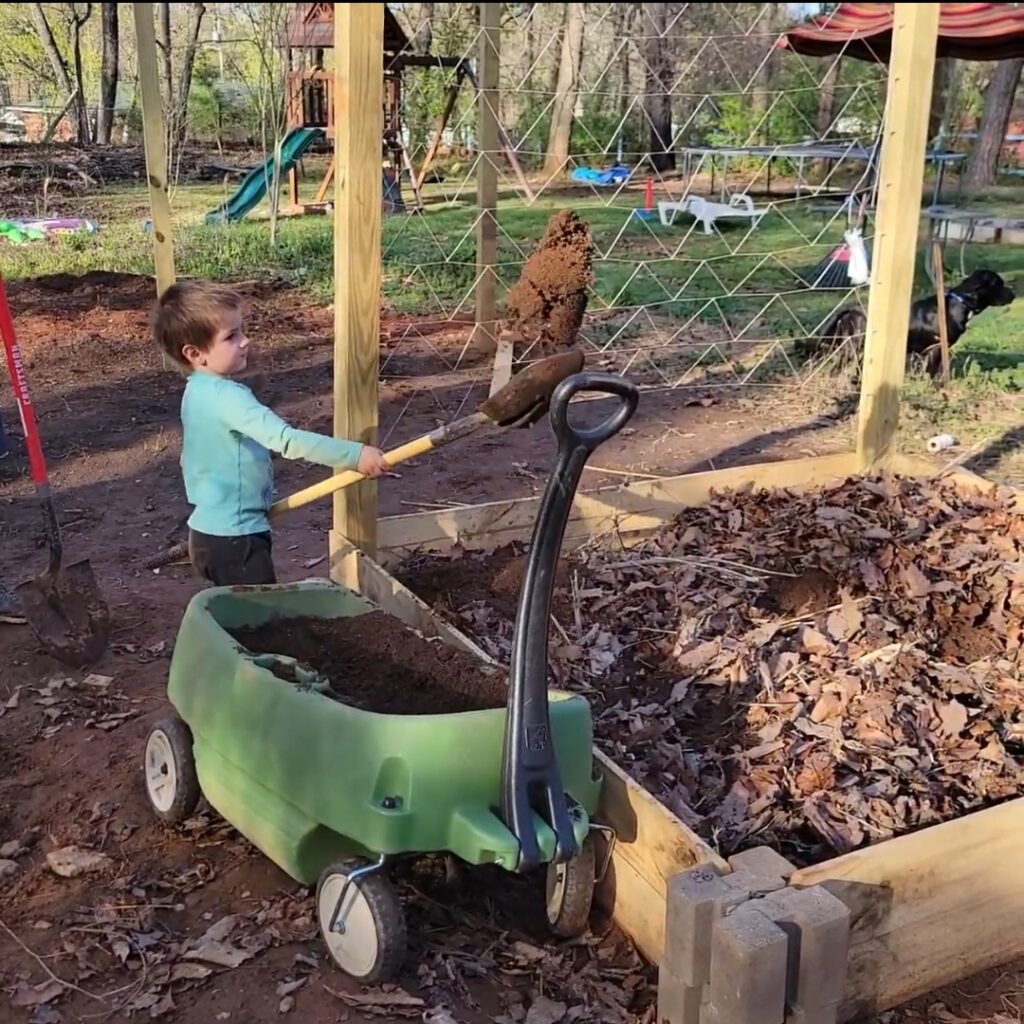
The only tools we used to put everything together were a screw gun and screw driver. To level the land we used a shovel, hand tiller and rake along with a surprisingly helpful Step2 Wagon. Even if you don’t have children, this wagon is extremely durable making it a huge asset. It beats a wheelbarrow when it comes to small garden projects as it’s easy to move while holding a ton of weight. We’ve moved rock piles, bundles of branches and plenty of dirt.

My family and I built this trellis along with two joint raised garden beds. It took only two days to build and cost us under one hundred twenty dollars. The process was so simple and the results are beautiful and functional. Read on to learn how we came up with the idea for this trellis. I’ve also included full step by step instructions for you to recreate this design.

The Big Idea
We are so proud of this budget trellis! While it’s only semi-permanent, it’s extremely sturdy and easy to maintain. I’m not sure where the idea came from because I’ve never seen one made this way. I was making a rough sketch of our dream garden when the design came to me. The sketch was just for fun, so I never expected it to be a realistic part of our garden. I’m beyond grateful to say that our walk-through trellis made it off the paper, and it’s so simple.
When we started working in the yard last year, we had no idea how much space we would find beneath the overgrown blackberry bushes. We fought our way through the thorns and discovered a mound of junk. When we finally cleared out everything, we discovered a space that was big enough to build a guest house. We found a lot of cool things buried beneath the brush like antique tools and glass bottles, half a shed and, oddly enough, a toilet.
While it was a lot of work to clear the land, the effort was worth the physical labor. We could finally use the space to grow our own food with plenty of room left for our next big idea. But, first, let me tell you how we built this trellis.
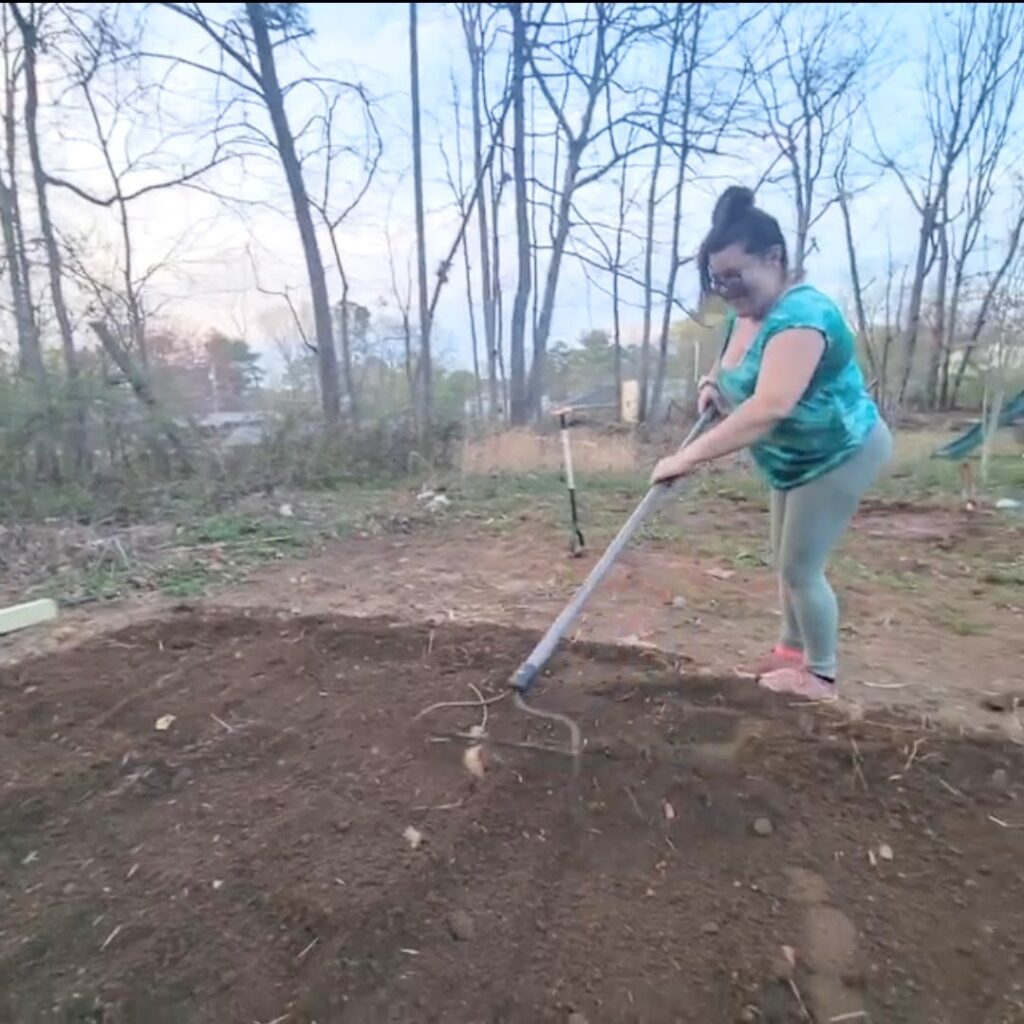
Step 1: Prepping The Space
I spent about two weeks leveling the dirt with a hand tiller and shovel to get the land as flat as I could. Then I added some top soil and used a rake to even out any slopes or dips in the patch where we wanted our trellis to stand.
Once the garden was nice and flat, we started making the frame. After a quick trip to Lowe’s to pick up four 4 x 4 post we came home to realize it was going to be too tall to trust standing on its own. So, a couple of days later, Mike grabbed two bags of cement on his way home from work.
We filled four five gallon buckets we had lying around before placing a post in each of them. Our theory is that if we ever decide to move it, it’ll be easier to dig the buckets out. We used cinder blocks to hold the posts in place and left them to dry for twenty-four hours.

Step 2: Building The Trellis Frame
As the posts were setting the next day, I began digging the holes with help from a neighbor. It took a couple of hours to get them straight, but we did a pretty good job without using a level.
That weekend we headed back to Lowes. We picked up everything we needed for the trellis. While we were browsing for soil, Mike decided he wanted to try to make the raised bed we had been discussing earlier that week. So, he loaded our cart with eight retaining wall blocks and eight fence pickets.
In total, we spent one-hundred fifteen dollars on materials excluding the wood screws we already had at home. We didn’t really have a plan, but we went for it and decided not to cut the pickets. In the end, we had a beautiful frame with a six by six bed. We also had left over blocks to make a second bed.
Step 3: Adding The Twine
I knew I wanted a tall trellis so Mike would be able to walk through it comfortably, but also because it’s just so darn cool. This thing really is massive, coming in at nearly seven feet tall. We took a couple of days off before I went back to string up the trellis. I placed a total of twenty-four eye screws six inches apart. I then ran nylon twine in rows across before weaving a row of triangles between each line.
I opted for a square pattern over the top after my brain gave up on trigonometry. I absolutely love how it came out. For the second bed, we used some leftover lumber from a previous project, along with the remaining retaining wall blocks. Since we were only growing tomatoes in the second bed, I waited until the tomatoes were tall enough before running a line of twine from the top to loop around each stalk individually. Each bed was filled with a layer of decaying branches, leaves, dirt from last year’s garden, and topsoil.
The hardest part of finishing the trellis was keeping myself from transplanting since we weren’t quite close enough to our last frost date. It took a lot of work, but once the whole thing was up, it felt like it had taken no effort at all. I can’t even explain how rewarding this experience was.
Why should you incorporate a trellis in your garden?
Some of the benefits of trellising fruits and vegetables include:
- Increases space for more plants
- Protects fruit and foliage from pests and excess moisture
- Makes tending to plants more accessible
- Allows more sunlight
- Gives pollinators easier access
There are so many options to consider when adding a trellis to your garden. Not only is this design lovely to look at, it is also sturdy, semi-permanent, and simple to construct. You can easily alter it to fit your vision, and add onto it later making it a perfect addition to any garden.
We will be making a couple of minor changes to this trellis next season, as well as adding additional beds. I’m also thinking about adding a hammock and covered sitting area. Whatever direction we take, I will post an update of the results!
Final Results
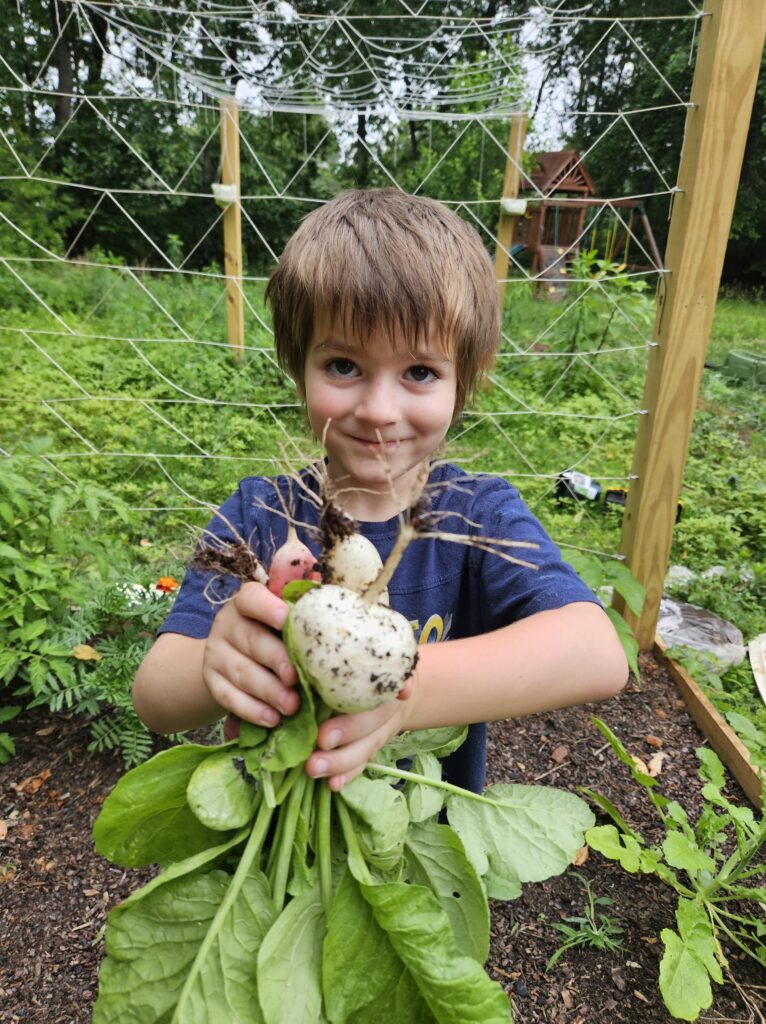
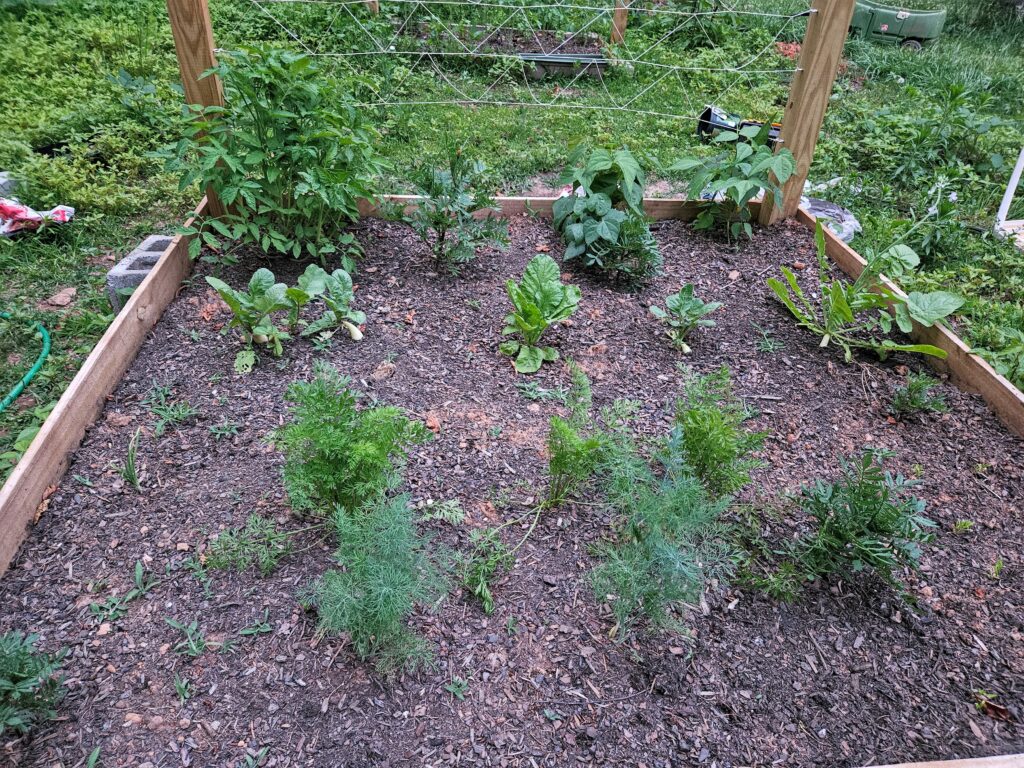
This trellis along with the raised beds gave us amazing results. We had the perfect amount of carrots, radishes, bush beans, and basil, we did not expect to have so many tomatoes and marigolds.
There were two minor flaws in this design, so next season we will make a couple of adjustments. We plan to add another level of pickets and cinder block to give our roots even more room. We will also add some support by framing in the top to better hold the overhead trellis. Sadly, there was a little too much slack for Mike to walk under it. Of course, that didn’t stop him from picking plenty of cherry tomatoes. I had no issues walking under it until the very end of the season, but Mike is just a little too tall for it.
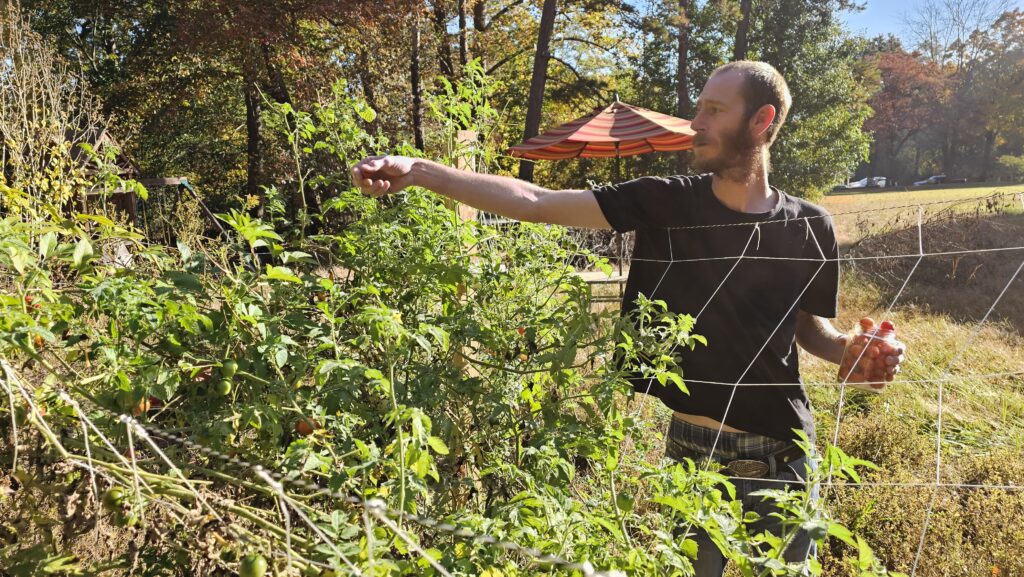
The cucumbers didn’t take and I thought I planted pole beans, but they turned out to be bush beans. The tomatoes however, had an incredible yield. I didn’t know that they could grow so tall, or for so long!
Aside from the cucumbers, everything we planted was healthy and we had much better results than the rows we created the previous year.
Because I love this project so much, I can’t keep it to myself. I’ve included a step-by-step guide on how to build this trellis with raised beds, along with a list of materials. What I really love about it is that you can alter this trellis to fit your space and garden goals.
Free Printable Instructions To Build This Trellis
Equipment
- 1 screw gun
- 1 screwdriver (any type)
- 4-8 cinderblocks
Materials
- 4 4x4x8 lumber pressure-treated
- 2 60-lb high strength concrete mix
- 24 eye-screws exterior
- 4 concrete retaining wall blocks any color
- 8 fence pickets pressure-treated
- 1 roll nylon mason line twine any color
- 8 2" exterior wood screws
Instructions
- On level ground, dig 3' wide holes for 2 of the 4 x 4s about 1-1.5' deep spaced 6 feet apart. Dig another 2 holes spacing them to whatever length you want your trellis to run. (We chose 10')
- Mix and pour cement. We used old 5 gallon buckets and cinderblocks to hold them in place. Allow 24hrs for cement to fully harden.
- Stack 2 retaining wall blocks 6' out from two of the 4 x 4s that are 6' apart. Slide a fence picket into the blocks and line it up with the 4×4. Stack a second picket on top, then repeat on the opposite side. Continue stacking to make a box. Once the boards all lined up, screw them in place with wood screws where they meet the 4 x 4s.
- On the inside of the 4x4s attach 20 eye screws so that they're facing each other. Mark 1.5" from the top and mark every 6" down 9 more times. Add an eye screw 1.5" from the top of the 4x4s on the inside where the beds will face each other. (Predrill holes with a screw gun, then used a screwdriver to slide into the eye screws and turn until secure.)
- Starting at the bottom eye screw, string the twine from one side to the other. Run the twine up to the next eye screw before pulling it across to the opposite eye screw. Repeat this process to make horizontal lines. Tie off the twine at the last screw on the top corner.
- Pull a line of twine about twice the width of the horizontal lines. Tie it at the starting screw and make a diagonal line down and secure with a basic knot. Run the line up diagonally (the opposite way) to make a triangle and continue the pattern to the last eye screw in that row, tie off and cut. Repeat this for all rows.
- To run the top: Twist two pieces of twine together that run the length of the trellis. Starting at the first eye screw, pull the line from one post to the other and tie off. Repeat on all sides to form a box around the top. Tie a new line starting from the top of each triangle and attach it to the line directly across. Weave a new line through each existing line tying a knot where each section meets.
Notes
Let us know what you think!
We hope you love this trellis idea just as much as we do. If you decide to give this a try, we’d be honored to see your finished project. Let us know where to find your results on social. You can also leave a comment below to let us know how it turned out, or discuss what you would do differently.